Tensorflow provides a set of pretrained models on coco 2017 dataset for object detection. COCO dataset consists of 90 classes for object detection from images. These pretrained models are avialable on tensorflow model zoo and can be downloaded from their github page for both tensorflow 1 and 2.
One can also retrain on custom dataset using any of these pretrained models using tensorflow object detection api on github. For this tutorial, we just load pretrained models from tensorflow and perform inference using these models. You need to install tensorflow cpu or gpu(if you have cuda enabled gpu setup) and opencv for reading and drawing on images.
pip install tensorflow-gpu opencv-pythonDownload any pretrained models from model zoo and unzip to desired directory and then we load model using tensorflow.
import numpy as np
import tensorflow as tf
import cv2
# load model from path
model= tf.saved_model.load("faster_rcnn/saved_model")
Now read an image using opencv and convert to BGR format. Also we need to expand dims to match input shape and pass to model for prediction.
# read image and preprocess
img = cv2.imread(IMAGE_PATH)
img = cv2.cvtColor(img, cv2.COLOR_BGR2RGB)

# get height and width of image
h, w, _ = img.shape

input_tensor = np.expand_dims(img, 0)

# predict from model
resp = model(input_tensor)
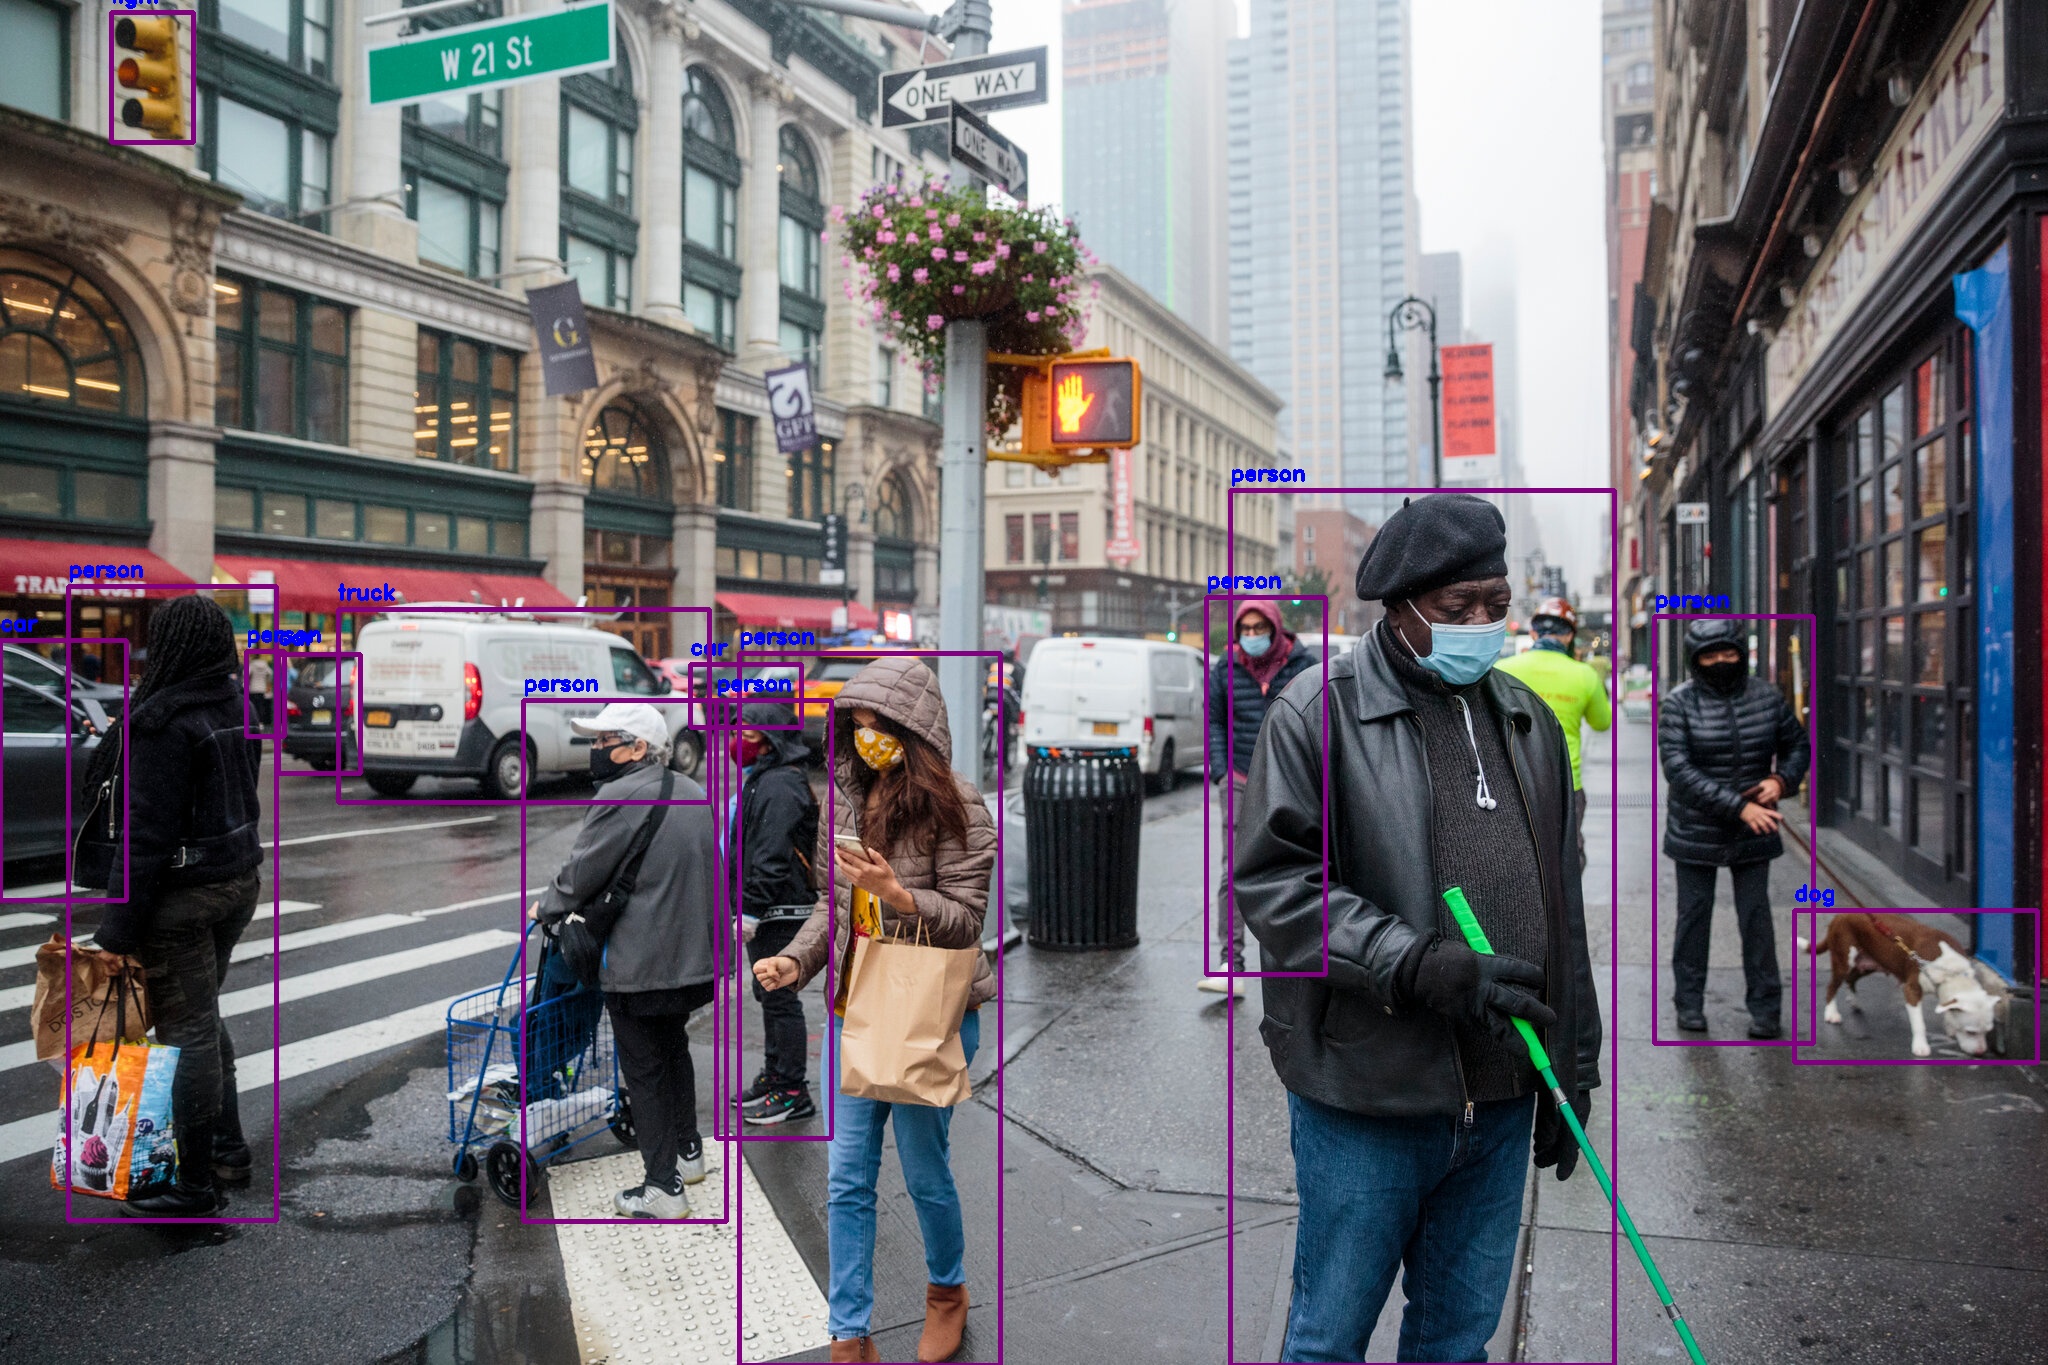
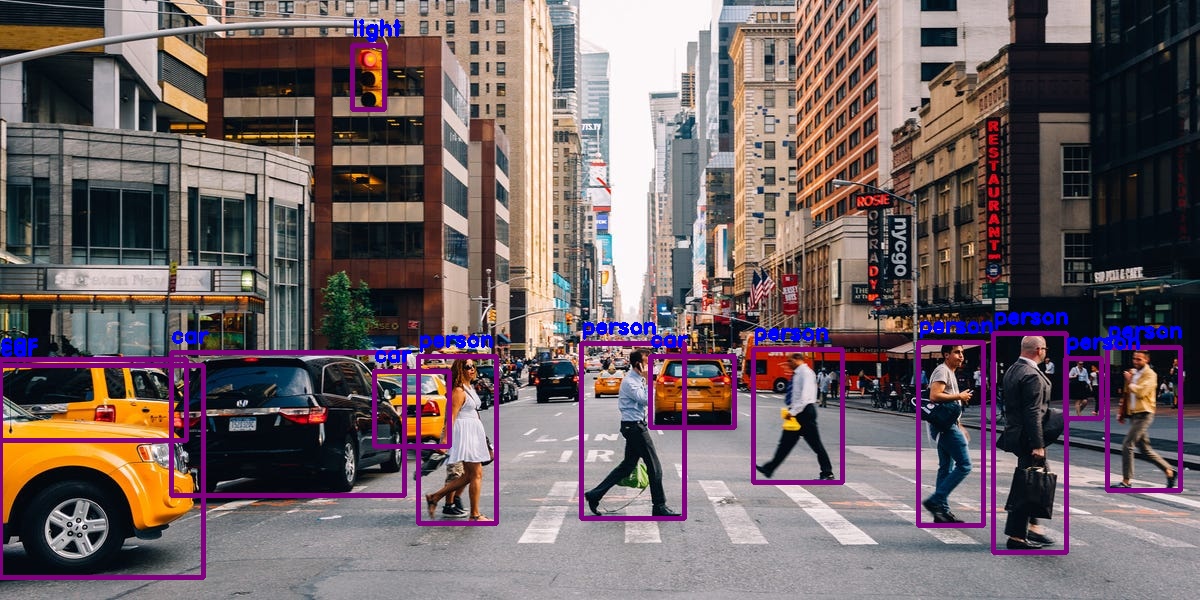
Models trained on coco dataset has 90 classes and we can predict them with great accuracy using these pretrained models. Model output is a dictionary consisting of different type of data including bounding boxes, class name, confidence socre and other meta data.
Model returns class as a number so we can load original labels with class number to class name and map using dictionary to get exact class name. Labelmap for tensorflow models is given in their github repository and can be downloaded from this url.
To load complete file as a dictionary of key value pairs, refer to this url on stackoverflow.
https://stackoverflow.com/a/65891556/6663675
So, we can load labels using this function defined on stackoverflow and use in our code.
# iterate over boxes, class_index and score list
for boxes, classes, scores in zip(resp['detection_boxes'].numpy(), resp['detection_classes'], resp['detection_scores'].numpy()):
    for box, cls, score in zip(boxes, classes, scores): # iterate over sub values in list
        if score > 0.8: # we are using only detection with confidence of over 0.8
            ymin = int(box[0] * h)
            xmin = int(box[1] * w)
            ymax = int(box[2] * h)
            xmax = int(box[3] * w)
            # write classname for bounding box
            cv2.putText(img, class_names[cls], (xmin, ymin-10), cv2.FONT_HERSHEY_SIMPLEX, 1, (255, 0, 0), 1)
            # draw on image
            cv2.rectangle(img, (xmin, ymin), (xmax, ymax), (128, 0, 128), 4)

# convert back to bgr and save image
cv2.imwrite("output.png", cv2.cvtColor(img, cv2.COLOR_RGB2BGR))
Here are results for some of images.


Comments (0)