Opencv is used for different image processing tasks and is widely used for computer vision tasks. In this tutorial, we will work with opencv mouse and keyboard events. We can use opencv drawing features to draw on image and can also handle draw using mouse events. So we will draw different shapes like rectangle, circle, polygon, polyline etc using opencv.
Here is list of opencv events that can be used for interaction with windows.
- EVENT_FLAG_ALTKEY - Alt key down flag
- EVENT_FLAG_CTRLKEY - Ctrl key down flag
- EVENT_FLAG_LBUTTON - Mouse Left button flag
- EVENT_FLAG_MBUTTON - Mouse Middle button flag
- EVENT_FLAG_RBUTTON - Mouse Right button flg
- EVENT_FLAG_SHIFTKEY - Shift key flag
- EVENT_LBUTTONDBLCLK - Mouse Left button double click
- EVENT_LBUTTONDOWN - Mouse Left button down
- EVENT_LBUTTONUP - Mouse Left button up
- EVENT_MBUTTONDBLCLK - Mouse Middle button click
- EVENT_MBUTTONDOWN - Mouse Middle button down
- EVENT_MBUTTONUP - Mouse Middle button up
- EVENT_MOUSEHWHEEL - Mouse wheel
- EVENT_MOUSEMOVE - Mouse move
- EVENT_MOUSEWHEEL - Mouse wheel
- EVENT_RBUTTONDBLCLK - Mouse Right button double click
- EVENT_RBUTTONDOWN - Mouse Right button down
- EVENT_RBUTTONUP - Mouse Right button ups
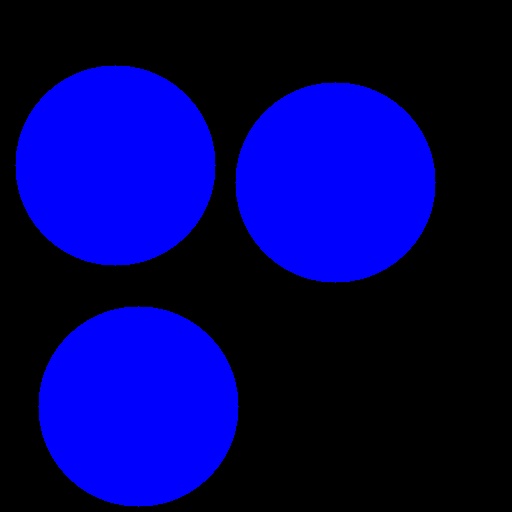
Create Circle
Opencv events are defined inside cv2 methods and attributes. In first exmple, we can draw a circle using simple click on image. First import required packages and create and black (512, 512, 3) image using numpy and crate functions to handle opencv events.
python
import numpy as np
import cv2 as cv
# Create a black image, a window and bind the function to window
img = np.zeros((512,512,3), np.uint8)
Now we can create a function to draw a circle on image on mouse down and add mouse callback to window.
python
# create function to draw circle on mouse click
def draw_circle(event, x, y, flags, param):

    if event == cv.EVENT_LBUTTONDOWN: # check if mouse event is click
        cv.circle(img, (x, y), 100, (255,0,0), -1) # draw filled circle with 100px radius

# create cv2 window and bind callback
cv.namedWindow('image')
cv.setMouseCallback('image',draw_circle)
while(1):
    cv.imshow('image',img)
    if cv.waitKey(20) & 0xFF == 27:
        break
cv.destroyAllWindows()
Now we can simply click on image and on mouse down it will create a circle with 100 radius.
Other shapes also works same way with events.
Draw Rectangle
Rectangle requires 4 points (xmin, ymin) and (xmax, ymax). So we can use code above to store position on mouse down and bottom right values on mouse up to draw rectangle.
python
import numpy as np
import cv2 as cv

drawing = False # true if mouse is pressed
ix,iy = -1,-1

# mouse callback function
def draw_rectanlge(event, x, y, flags, param):
    """ Draw rectangle on mouse click and drag """
    global ix,iy,drawing,mode
    # if the left mouse button was clicked, record the starting and set the drawing flag to True
    if event == cv.EVENT_LBUTTONDOWN:
        drawing = True
        ix,iy = x,y
    # mouse is being moved, draw rectangle
    elif event == cv.EVENT_MOUSEMOVE:
        if drawing == True:
            cv.rectangle(img, (ix, iy), (x, y), (255, 255, 0), -1)
    # if the left mouse button was released, set the drawing flag to False
    elif event == cv.EVENT_LBUTTONUP:
        drawing = False

# create a black image (height=360px, width=512px), a window and bind the function to window
img = np.zeros((360,512,3), np.uint8)
cv.namedWindow('image')
cv.setMouseCallback('image',draw_rectanlge)

while(1):
    cv.imshow('image',img)
    if cv.waitKey(20) & 0xFF == 27:
        break

cv.destroyAllWindows()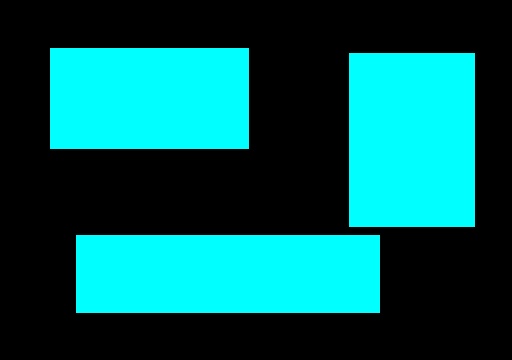
Here we can draw any size rectangle using mouse.
Draw Polyline and Polygons
We can also draw multiple points to create connected lines(polylines) or polygons. For this we need to store additional data. We draw line based on current and previous click and store current
x,y values for next mouse click.To end a line drawing, we can either use keyboard event or mouse events. For this example, we are using mouse double click event to end drawing.
For polygon, we check if
alt key is pressed, we create a ploygon based on current x,y value and starting x,y value. In this example, we will also load an image instead of creating a black image.
python
import numpy as np
import cv2 as cv
ix,iy,sx,sy = -1,-1,-1,-1

# mouse callback function
def draw_lines(event, x, y, flags, param):
    global ix,iy,sx,sy
    # if the left mouse button was clicked, record the starting
    if event == cv.EVENT_LBUTTONDOWN:

        # draw circle of 2px
        cv.circle(img, (x, y), 3, (0, 0, 127), -1)

        if ix != -1: # if ix and iy are not first points, then draw a line
            cv.line(img, (ix, iy), (x, y), (0, 0, 127), 2, cv.LINE_AA)
        else: # if ix and iy are first points, store as starting points
            sx, sy = x, y
        ix,iy = x, y

    elif event == cv.EVENT_LBUTTONDBLCLK:
        ix, iy = -1, -1 # reset ix and iy
        if flags == 33: # if alt key is pressed, create line between start and end points to create polygon
            cv.line(img, (x, y), (sx, sy), (0, 0, 127), 2, cv.LINE_AA)

# read image from path and add callback
img = cv.resize(cv.imread("themefoxx (214).jpg"), (1280, 720))
cv.namedWindow('image')
cv.setMouseCallback('image',draw_lines)

while(1):
    cv.imshow('image',img)
    if cv.waitKey(20) & 0xFF == 27:
        break

cv.destroyAllWindows()
There are a lot of other possibilities and drawing options to draw different shapes on images in opencv. For more details, check opencv official documentation or view other posts for drawing methods.