Flask is a Python micro web framework for created web services. One can use it to create a server with few line of code and easily use for any kind of application.
It is classified as a microframework because it does not require particular tools or libraries.
In this tutorial, we will learn how to create a simple web application using Flask. We will create a simple web application that will display a message on the web page and we will also work with rendering HTML templates.
For getting started with Flask, we need to install it first. We can install it using pip command as shown below.
python
pip install flaskNow, we will create a simple web application using Flask. We can create a new file (for example, main.py) and start writing code.
Getting Started
First, we need to import Flask class from flask module. We will also import other modules like request, render_template and response function from flask module. We will use render_template function to render HTML templates.
python
from flask import Flask

# Create a Flask instance
app = Flask(__name__) # __name__ is the name of the current Python module

# Create a route decorator to tell Flask what URL should trigger our function
@app.route('/') # The forward slash (/) is the root of the website
def index():
    # Return a string
    return 'Hello World'

# Run the application

# __name__ is a built-in variable which evaluates to the name of the current module
if __name__ == '__main__':
    # debug=True will provide a useful debugger to track any errors in the code
    app.run(debug=True)
So, We created a flask web server with few lines of code. We can run the above code using the following command.
python main.pyOnce the code is executed, we can open the browser and type the following URL to see the output. By default, Flask runs on port 5000, but we can change it using the port parameter if port 5000 is already in use.
http://localhost:5000/We can continue making changes in code and save the file. The changes will be automatically reflected in the browser.

Flask Routing
We can add additional routes to our application. We can create a new route by using the route decorator. Function name can be anything, but it is a good practice to use the same name as the route.
python
@app.route('/contact')
def contact():
    return 'This is the contact page'

@app.route('/about')
def about():
    return 'This is the about page'
We can add as many routes as we want to our flask application.
Routes can accept both query string and dynamic parameters. We can use the following syntax to accept query string parameters.
request is an object that Flask provides to access web request information, it contains information about the request that triggered the route including the data sent in the request like form data, files, cookies, headers, etc.
python
from flask import request

@app.route('/query')
def query():
    # Get the value of parameter q from URL
    query_parameter = request.args.get('q')
    return 'You are looking for: ' + query_parameter
python
# We can also use dynamic parameters in the route. We can use the following syntax to accept dynamic parameters.
@app.route('/user/')
def profile(username):
return '{}\'s profile'.format(username) 
As in above example, we are sending string response back to client. But there are different other options also available.
Responses can be returned in different formats. We can return a string, HTML, JSON, XML, etc. We can also return a response object from the response function of flask module. We can use the following code to return a response object.
python
from flask import Response
# String response
@app.route('/string')
def string():
return 'Hello World'
# HTML response - HTML is a string response, but we can use render_template function to render HTML templates
@app.route('/html')
def html():
return 'Hello World
'
# JSON response
@app.route('/json')
def json():
return {'name': 'Faizan', 'data' : [50, 70]}
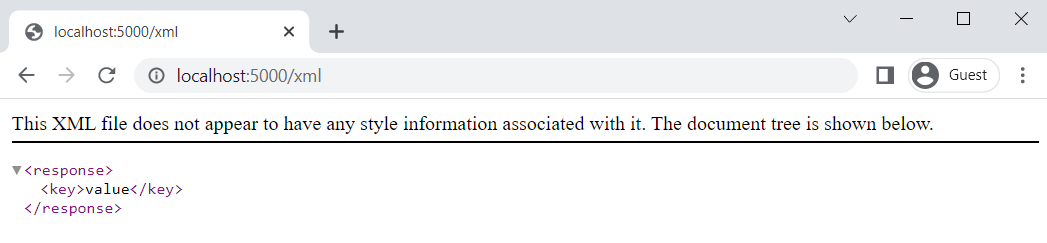
# XML response
@app.route('/xml')
def xml():
return Response('value 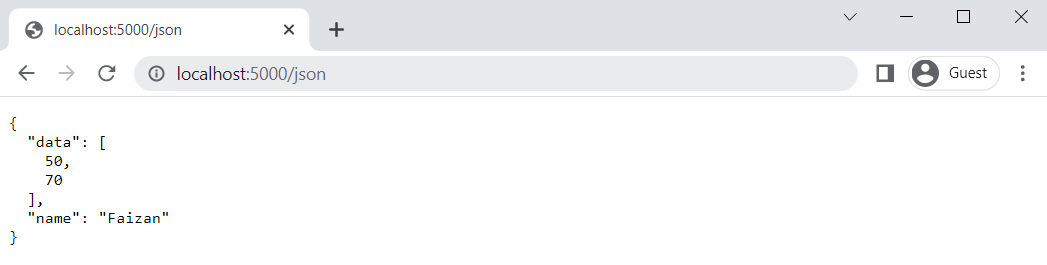
In the above code, we have created a simple web application using Flask. We have also learned how to create routes and return different types of responses from the routes.
In the next tutorial, we will learn how to create a web application using Flask and render HTML templates with dynamic data and also parse form data.
For more information, please visit https://www.tutorialspoint.com/flask/index.htm